Thursday, November 16, 2017

FREE: Mazda MX-5 Rocket Bunny (.max + corona)


Mazda MX-5 Rocket Bunny

NOTE:
  • 3DS MAX 2014 and above
  • Corona 1.7

Turn off your AdBlocker to download.


Tuesday, November 14, 2017

FREE: Subaru BRZ Pandem v3.0 (.max + Corona)


Subaru BRZ Pandem v3.0

NOTE:
3Ds Max 2014 and above
Corona 1.70

Turn off your AdBlocker to download.

Saturday, June 10, 2017

FREE: Tuyong Dahon (.max + corona)


NOTE: 
Use Corona Scatter / Forest Pack in your scene.
  • 3Ds Max 2014 (Corona)
  • zip (4.54 MB)

Friday, March 24, 2017

Road to Corona - The Exterior Setup


Today, I would like to share to you my workflow. If you find something is off with my pipeline, please do tell me.

[1] LWF, GAMMA AND LUT PREFERENCES

Before I start anything inside 3Ds Max, I always check my Preferences if the Gamma Correction is enabled. You can go to Customize > Preferences > Gamma and LUT. To learn more about this topic, please visit the Autodesk Knowledge Base for in-depth explanation. 


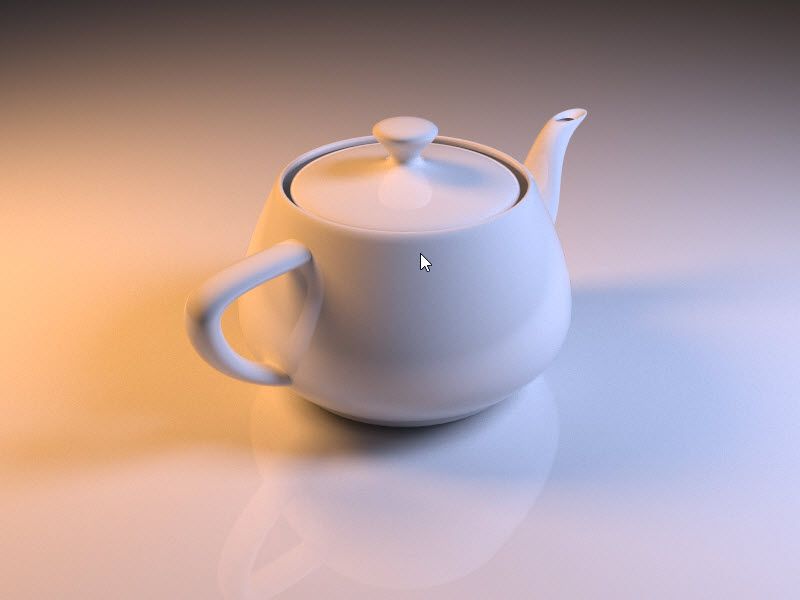
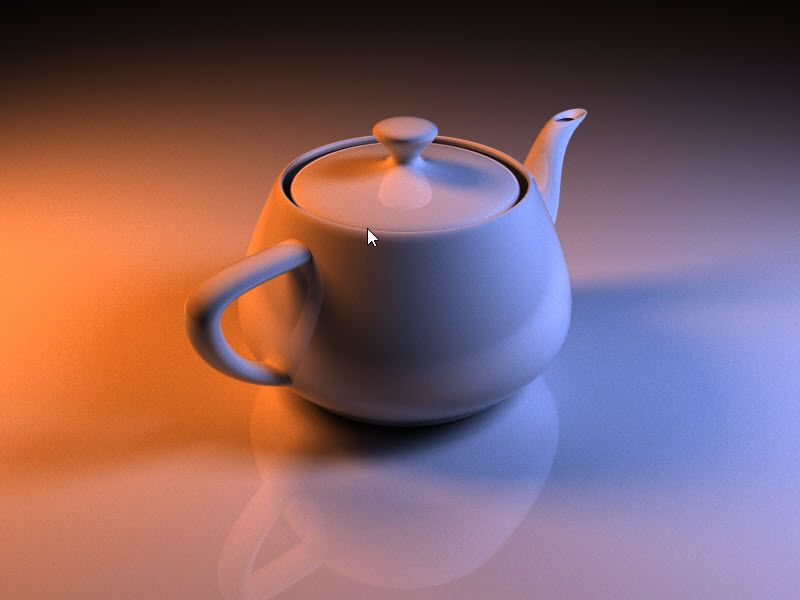
The renders below shows the difference between On and Off. Note that both renders have the same render and camera settings. 
Gamma Correction turned off.
Gamma Correction turned on.
If you have ultra dark shadows in your renders, you probably need to double check your gamma/lut preferences.

And if you want to dive more into LWF, better check this LINK.

[2] SCENE SETUP


Scene setup is pretty straight-forward, I used CoronaSun BUT linked to an HDRI map for the Environment. I should probably post a separate blog for that. 

I noticed that in Corona, the sun's default is at 1.0, which is too bright. Lower it down and start at 0.1, increase when necessary. Or you could adjust your camera's exposure to compensate the sun's intensity.

The sun size' default is 1.0. Just like VRay, this will affect the softness of the shadow. The larger the value, the softer the shadows. Too large and it'll be unrealistic. In Corona, you don't need to worry about the noise that the larger sun size produced.

CoronaSun Settings

[3] POPULATING THE FOREST (CoronaScatter)

I used CScatter to distribute the trees around the structure. Corona Scatter works the same way as iToo Software's Forest Pack. If you have tried it, this will be easy for you.

That gray box served as the structure's bounding box. 
Since I don't want any trees inside the building, I created a bounding box that served as a MASK. The mask will not allow any trees to be distributed inside the building. To do that, I used the CoronaDistance map.

The bounding box/building mask's must be set non-renderable object.

NOTE: The box must not be visible during rendering. Uncheck accordingly.
Under the CoronaDistance map, I added the building mask accordingly and set the Distance Far parameter at 1500mm. It means that there will be no trees that will be distributed at 1500mm from the perimeter of the building mask. 


Connect the Output node to the scatter map slot.

CScatter configuration. 
The image below is the final CScatter output. You'll notice that the trees, though randomly distributed in our scene, the trees seems to avoid the "building mask". 


I recorded a video about the CScatter, but I am having a hard time uploading it. Maybe next time or I'll upload it somewhere.

That's all for my Exterior Setup. Pretty simple right? Next part will be about the Interior Setup.

Tuesday, March 21, 2017

Intro: Road to Corona Renderer

3Ds Max 2015 + Corona 1.5

I know I am a bit late to try Corona Renderer as I have been a VRay user since. Took an old scene I used before and refurbished it completely. Replaced every furniture, accessories, and materials in the scene. 


The scene was done in primarily in SketchUp way back 2011. Here're some screen grabs.


The final render below was done in VRay for SketchUp. 

SketchUp + VRay

The scene became my sandbox. I revisited this last 2013 but in 3Ds Max and rendered with VRay. The output wasn't really that fulfilling, an utter failure. xD Anyway, we'll talk about the "Mark-III" on my next entry.

Friday, March 10, 2017

Hiatus no more.

It's been three years already since my last entry on my blog. Well, actually, this is the first entry with lots of words. Haha! Anyway, I've been away from 3D world for too long that I needed to spent days weeks sitting, reviewing my arsenal. I am so behind right now, XD.

I used to write tutorials regarding VRay Rendering in SketchUp, but that was like 6 years ago (as of writing). I hoped that people can still find those helpful. Today, there are hundreds of tutorials over the net. You can find them easily by googling some keywords. You can even watch tutorial videos in Youtube.

You can find my tutorials here or you can visit my Facebook Page here.


Early 2012, I made a tribute to Philip Johnson's Glass House (photo above). I modeled the building in SketchUp and imported to 3Ds Max, and rendered with VRay. It was actually a 3Ds Max exercise. As far as I can remember, I used a plugin for creating snow on the roof , but I forgot the name. Those trees were from Evermotion by the way. 

After this, I stopped doing some 3Ds and prepared myself for the Architecture Licensure Examination. I sold my rig to fund my expenses for the exam. Hence the main reason I can't go back to 3D after that. The hiatus continues until the mid 2013 where I went overseas to work. There, I was able to produce some renderings but that didn't made me back to the game. Here are some of works back then.


Years after, I went back to my home country. I thought I can hop back to the course, but I was wrong. Ha! My attention was deviated to computer games and to scale modeling. I built Gundam model kits or Gunpla, model ships and model cars. Toy collecting and scale modeling were added to my hobby list.

Just recently, while browsing some 3D forums and portfolios. I felt a kick to my back. I had a feeling of urge to create something, to create new 3D artworks. This year I was able to start back. I am a fan of the anime series Initial D, so as an exercise, I made a fan art of the famous Fujiwara Tofu Shop! 
Still the usual workflow; SketchUp + 3Ds Max + VRay + Photoshop. I still have 2 more scenes for this with different mood. I'll post it when it's done.


That didn't stop. Right after I finished rendering the fan art, I went straight working with another scene. This time it's an interior design. 


Still rendering some additional scenes, though. I hope this enthusiasm won't fade and will continue. I may post a separate blog entry for this interior rendering. See ya on my next blog.